
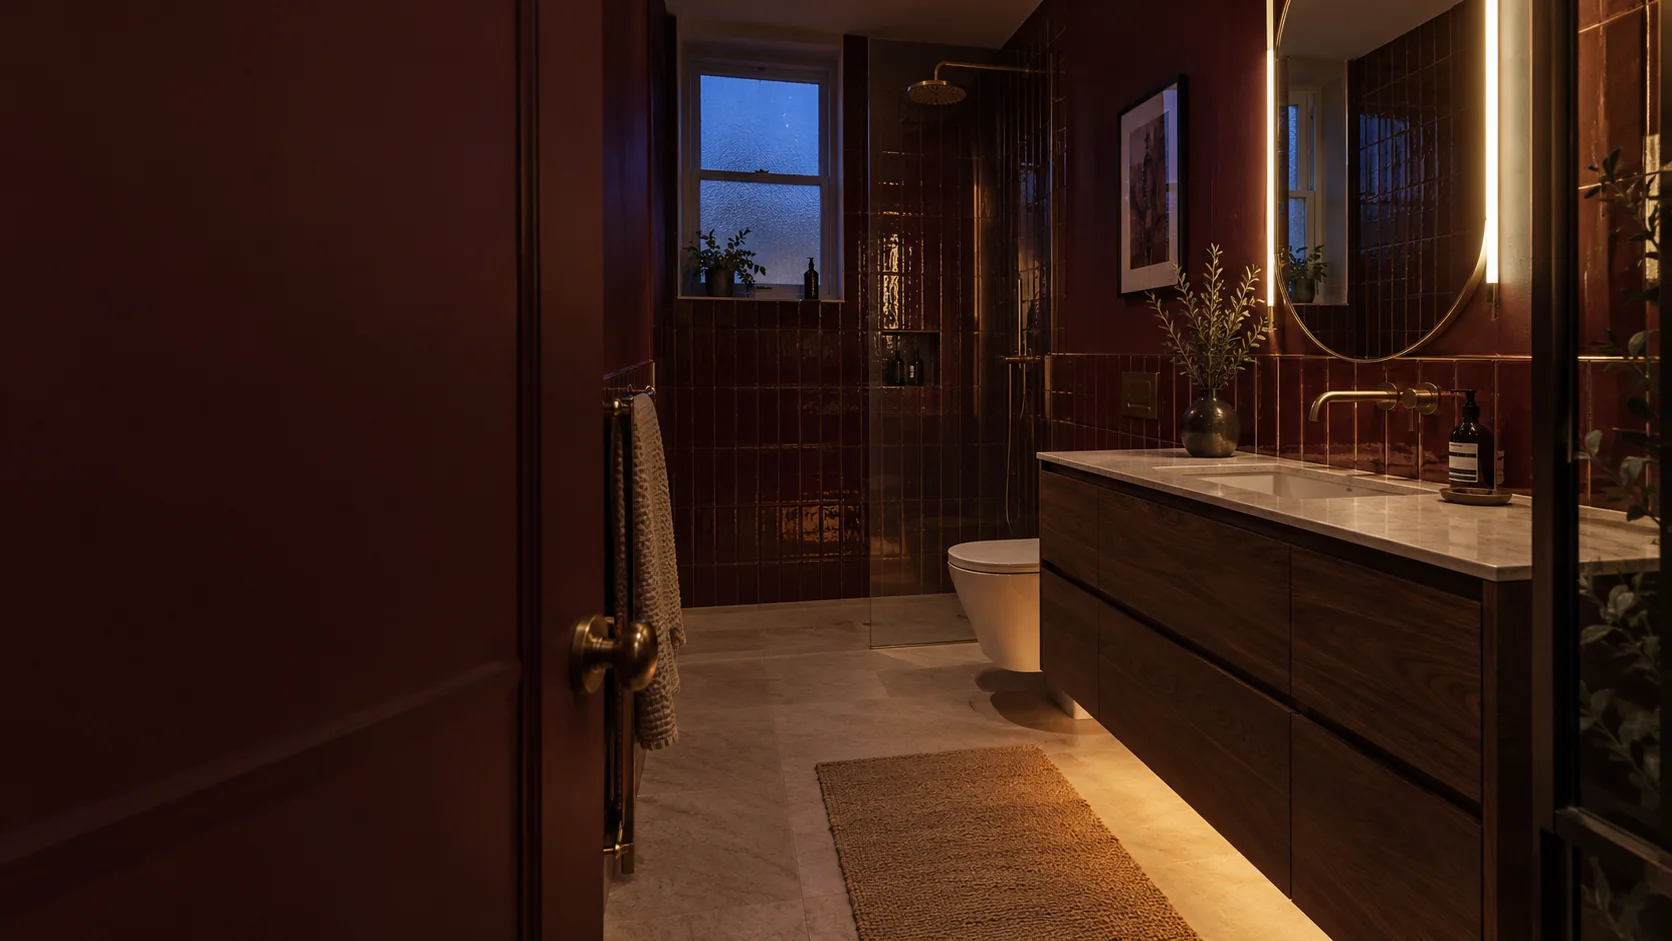
Bathroom renovation · London
Bathroom Electrics for a London Renovation
This guide explains how to coordinate lighting, mirrors, ventilation, heating and shower equipment during a London bathroom renovation. It is written for homeowners planning work with their installers, not as a guide to wiring a bathroom yourself.
Plan your bathroom electricsA bathroom can look finished while some of its most important decisions remain unresolved. The mirror lights up, but not in the way you expected. The extractor is audible from the bedroom. The floor feels warm, yet the room still needs more heat. A small component fails, and nobody knows how to reach it without disturbing the tiles.
Good bathroom electrical planning deals with these questions before the finishes go on.
PEP brings together planned electrical installation work and plumbing installation, helping the different services fit the same room layout and agreed programme.
Planning bathroom work in SW6? Our Fulham electrical services cover the electrical scope alongside the wider refurbishment. In W6, our Hammersmith electrical installation service can coordinate the bathroom electrics with the agreed renovation. Our Shepherd’s Bush electrical service covers planned bathroom installations in W12. For SW5 homes, explore bathroom electrical work in Earl’s Court. For NW6 projects, see bathroom electrical work in Queen’s Park. For W2 projects, see bathroom electrical work in Paddington.
/ 01
Plan the bathroom electrics before the tiles
The right time to involve your electrician is while the layout and equipment are still being chosen. Waiting until the bathroom has been boarded or tiled can leave fewer options for wiring routes, controls and access.
Start with how you want the room to work. Do you need clear light at the mirror, a softer evening setting and a low-level light for night-time visits? Should the towel rail work in summer? Is the floor heating intended to warm the tiles or heat the room? Where will the ventilation discharge?
These decisions affect more than the number of electrical points. They influence the products you buy, the services behind them and the work needed outside the bathroom.
A useful brief contains the room layout, the main equipment choices, the way each item should operate and the responsibilities of each contractor. It does not need to be elaborate, but everyone should be working from the same version.
/ 02
Agree the layout and equipment schedule
Choose specific products early enough for their instructions to inform the installation. Two mirrors of the same size may need different controls. Two showers with similar-looking buttons may use completely different water and electrical arrangements.
Use an equipment schedule alongside the floor plan.
Swipe or scroll sideways to view the full table →
| Equipment | Agree before first fix | Plan for later access |
|---|---|---|
| Ceiling and wall lighting | Fitting positions, lighting effect, dimming and control groups | Replaceable fittings and accessible control components |
| Illuminated mirror or cabinet | Exact model, demister, charging features and switching method | Manufacturer-approved removal and servicing |
| Extract ventilation | Existing system, duct route, discharge point and operating mode | Cleaning and access to the fan or remote unit |
| Electric underfloor heating | Heated area, complete floor construction, thermostat and sensor | Control access and an appropriate sensor replacement provision |
| Heated towel rail | Water, electric or dual fuel operation and summer use | Electrical and plumbing service access |
| Shower equipment | Shower type, water-system compatibility and electrical requirements | Access to any concealed processor or pump |
| Additional equipment | Requirements for shower toilets or other powered fittings | Accessible connections and replaceable components |
First fix means the installation work carried out before surfaces are closed and final accessories are fitted. By this stage, the contractor needs more than a mood board.
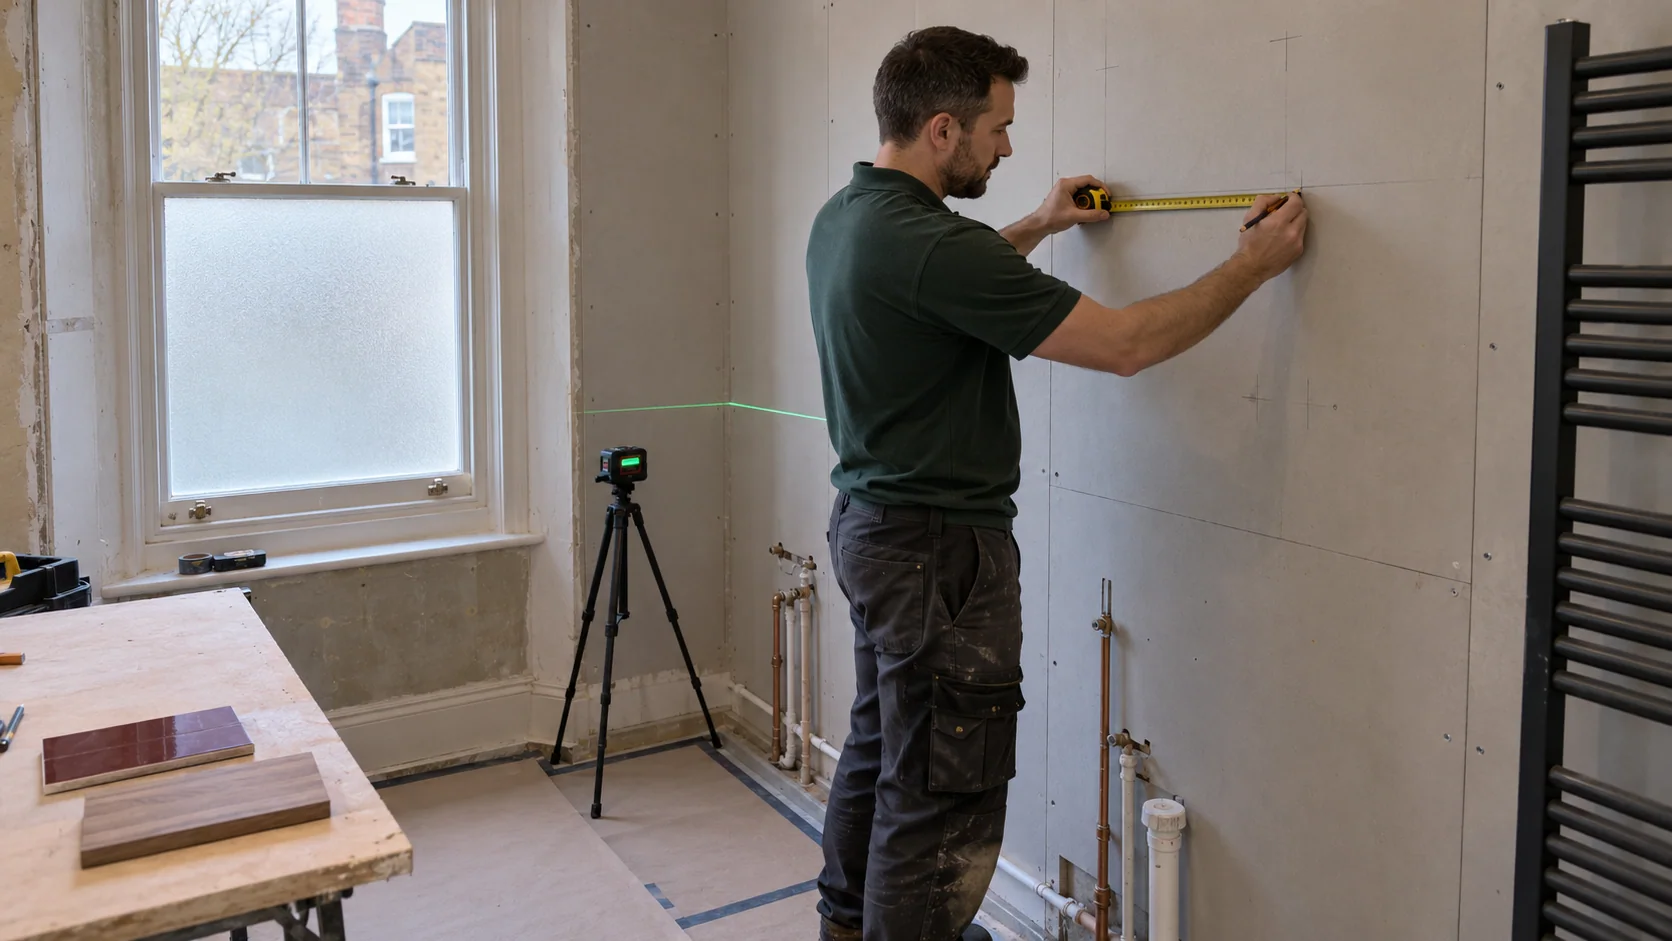
Wall elevations help locate items that a floor plan cannot describe properly: a mirror above a basin, lights beside a cabinet, controls beside a door and connections concealed behind equipment. Positions should relate to the finished surfaces and actual products, not just the bare wall.
If a product changes, send the replacement specification to the installer before ordering. A substitution is not automatically like-for-like because it looks similar.
/ 03
Decide what can stay from the existing installation
A bathroom renovation does not automatically require a full house rewire or a new consumer unit. Equally, an existing cable cannot be assumed suitable simply because it previously supplied something in the same room.
The assessment should establish what is already there, its condition, the protection provided and whether it can support the proposed changes. Adding a high-demand electric shower is a different proposition from replacing a light fitting.
The route back to the consumer unit also matters. In a flat, the practical work may extend through a hallway or another room. In an occupied house, access and planned interruptions need to be agreed before work starts.
Ask the installer to distinguish between work needed for the bathroom, defects that affect the proposed installation and optional improvements elsewhere. This makes the quotation easier to understand and avoids treating every project as the same upgrade.
Our guide to consumer unit replacement or rewiring explains that wider decision. Where the renovation genuinely forms part of a larger electrical refurbishment, full or partial rewiring can be coordinated with the building programme.
/ 04
Understand bathroom zones and product suitability
Bathroom electrical safety depends on where equipment is installed, how it is protected and whether it is suitable for that position. A product labelled “for bathrooms” is not automatically suitable everywhere in the room.
Your electrician should assess the actual bath or shower arrangement against the applicable requirements of BS 7671. An open shower, a changed enclosure or a partition can affect the assessment. Do not select positions from an unverified diagram and assume the product's IP rating resolves everything.
IP ratings describe protection against ingress. They are one part of product selection, alongside the equipment type, supply arrangements, circuit protection and manufacturer's instructions. Electrical Safety First provides an overview of bathroom electrical safety.
Ordinary mains sockets and purpose-designed shaver supply units must not be treated as interchangeable. The IET's published A4 inspection schedule refers to ordinary low-voltage sockets being at least 2.5 metres from Zone 1. That is not a complete positioning rule for a homeowner to apply without assessing the room. IET model forms for BS 7671 A4.
A residual current device, or RCD, provides additional protection against electric shock. The IET bathroom inspection schedule specifies protection not exceeding 30 mA for low-voltage circuits; this does not replace correct earthing, suitable equipment or proper installation.
Where protection repeatedly operates, read our guide to RCD tripping and safe checks before assuming that the protective device itself is faulty. Keep clear of wet or damaged electrical equipment.
Plan the room for suitable fixed equipment, not for portable mains appliances beside water. Electrical design and installation should be handled by a suitably qualified electrician.
/ 05
Plan lighting and mirror controls together
Give each light a clear purpose
Start with the tasks the room needs to support.
General lighting helps you move around and clean. Lighting at the basin needs to make faces easy to see. Decorative light can bring out a niche, a textured wall or the shape of the room. A night setting should let someone use the bathroom without switching on the brightest scene.
These functions do not necessarily require a complicated control system. They require deliberate choices about which fittings operate together and how they are controlled.
Consider where people will stand and what they will see in the mirror. A fitting that looks balanced on a ceiling plan may produce glare or an awkward reflection in daily use. Review the proposed positions against the basin, cabinet and shower arrangement before fixing them.
If the bathroom is shared, straightforward controls may be more useful than a long list of app features. Decide which everyday functions must remain available from ordinary physical controls.
Check the complete dimming arrangement
Do not assume every LED fitting works with every dimmer. Ask for the fitting, any separate driver and the control method to be checked as a combination.
Describe the result you want: a comfortable low setting, separate mirror lighting or a simple evening scene. The installer can then establish how to achieve it with suitable equipment.
Separate switching groups are not the same thing as separate electrical circuits. The electrical design should follow the actual loads and protective requirements, rather than turning each lighting preference into an assumed new circuit.
For the wider approach to layers of light, glare, dimming and everyday controls, see our home lighting design guide alongside the bathroom-specific requirements.
Choose the mirror before its supply is installed
An illuminated mirror may combine lighting, a heated demister pad, sensors, charging outlets and colour adjustment. Those functions may not operate independently.
For example, the technical data for HiB's Spirit Pill states that its sensor cannot be bypassed to operate with the main room light, and its heated pad operates with the mirror illumination. That is a characteristic of that product, not a rule for every illuminated mirror. HiB Spirit Pill technical data.
Check the exact model, intended switching and servicing arrangement. Do not rely on a showroom demonstration to explain how it will behave once connected in your bathroom.

/ 06
Plan the ventilation route as well as the fan
Ventilation deserves attention while the room is being designed, especially if the bathroom has no external wall or connects to an existing system serving other rooms.
Before selecting a fan, establish where the extracted air goes, how replacement air will enter the room, what space is available for the duct and how the installation will be accessed. A grille in the ceiling is only the visible end of the arrangement.
The installed airflow depends on the complete route, not just the number printed on a fan box. Approved Document F addresses the resistance of the assembled system. Its 2021 edition gives 15 litres per second for bathroom intermittent extraction; continuous systems have different design requirements. It also distinguishes adding a bathroom from refurbishing an existing one. Existing fans should be retained or replaced and checked as appropriate; refurbishment does not automatically require a new system where none existed, although additional provision may be needed if the work would otherwise reduce compliance. Approved Document F Volume 1.
For the practical brief, ask:
- Where will the duct run and discharge?
- Who is responsible for the duct, outlet, electrical supply and making good?
- Can the equipment be cleaned and serviced after the ceiling is finished?
- How will operation and any required airflow measurements be checked?
- Does the building already have a ventilation system that must be retained or coordinated with?
Choose controls around the ventilation strategy
Timer, humidity-sensing and continuous-running options serve different operating arrangements. A product may offer several modes, but the installed settings must suit the ventilation design.
Vent-Axia's PureAir Sense, for example, offers continuous operation, humidity response and adjustable timing. Its documentation also stresses cleaning to maintain airflow. These are useful selection questions, not a promise that every fan will solve every moisture problem. Vent-Axia PureAir Sense.
Discuss noise near bedrooms and what happens during a short night-time visit, without disabling ventilation that is intended to run continuously. Where the bathroom connects to a communal or central system, do not assume an independent fan can simply be added.
Persistent condensation needs an assessment of the room and its ventilation, not an automatic recommendation to buy a more powerful fan.

/ 07
Coordinate underfloor heating and towel rails
Decide whether you want warm tiles or room heating
Electric underfloor heating can be a useful choice for a bathroom, but the available heated floor area may be much smaller than the room's total footprint.
The layout should account for sanitaryware, fixed furniture and the selected system's restrictions. If the floor is expected to provide the room's main heat, its available output must be assessed against the room's heat requirement. Comfortable tiles alone do not demonstrate that the whole room will be warm enough.
Agree the complete floor construction with the installer and tiler. Subfloor preparation, insulation where appropriate, waterproofing, heating, adhesive and the finish must work together. The heating mat's thickness is not the same as the total increase in finished floor level.
Plan controls and protection before the floor is covered
The thermostat position, sensor arrangement and electrical supply belong in the initial plan. Ask how the sensor can be replaced if it later fails. Heat Mat recommends a closed-ended conduit for its floor sensor to support protection and replacement; the detail used must suit the selected system. Heat Mat sensor guidance.
Agree who will carry out and record the manufacturer's required tests at the relevant installation stages. Warmup emphasises testing before, during and after installation, rather than discovering damage only once the finish is complete. Warmup installation testing guidance.
The floor finish and installation materials also determine when normal heating can begin. Follow their curing and commissioning requirements rather than using the system to hurry the drying process.
For a wider refurbishment, our guide to retrofitting underfloor heating explains the broader choices between systems and floor constructions.
If installed electric floor heating stays cold, reports a sensor error or trips a protective device, see the electric-system section of our underfloor heating troubleshooting guide. Avoid repeated resets or opening electrical covers.

Give the towel rail its own purpose
Decide whether the rail is primarily for drying towels, contributing to room heating or both. If it is expected to heat the bathroom, its suitability needs to be checked rather than inferred from its size.
An electric rail offers a different arrangement from a water-connected rail. A suitable dual fuel model combines water heating with an electric element, allowing electric operation when the main heating is not in use, subject to its installation and operating instructions.
The element, controls and hydraulic arrangement must be suitable for the selected rail. Avoid generic advice about opening or closing valves: the manufacturer's instructions govern safe operation.
Make the desired summer routine clear before installation. “Warm towels without switching on the house heating” is a useful requirement for the contractor to design around.

/ 08
Distinguish electric showers from digitally controlled showers
A shower with electronic controls is not necessarily an electric shower.
An electric shower heats incoming cold water within the appliance. A mixer shower blends hot and cold water supplied by the home. A digital mixer also blends those supplies but uses electronic control. A power shower incorporates pumping and has its own water-system compatibility requirements. Mira's guide to shower types.
That distinction affects the electrical demand, water connections and space needed for equipment.
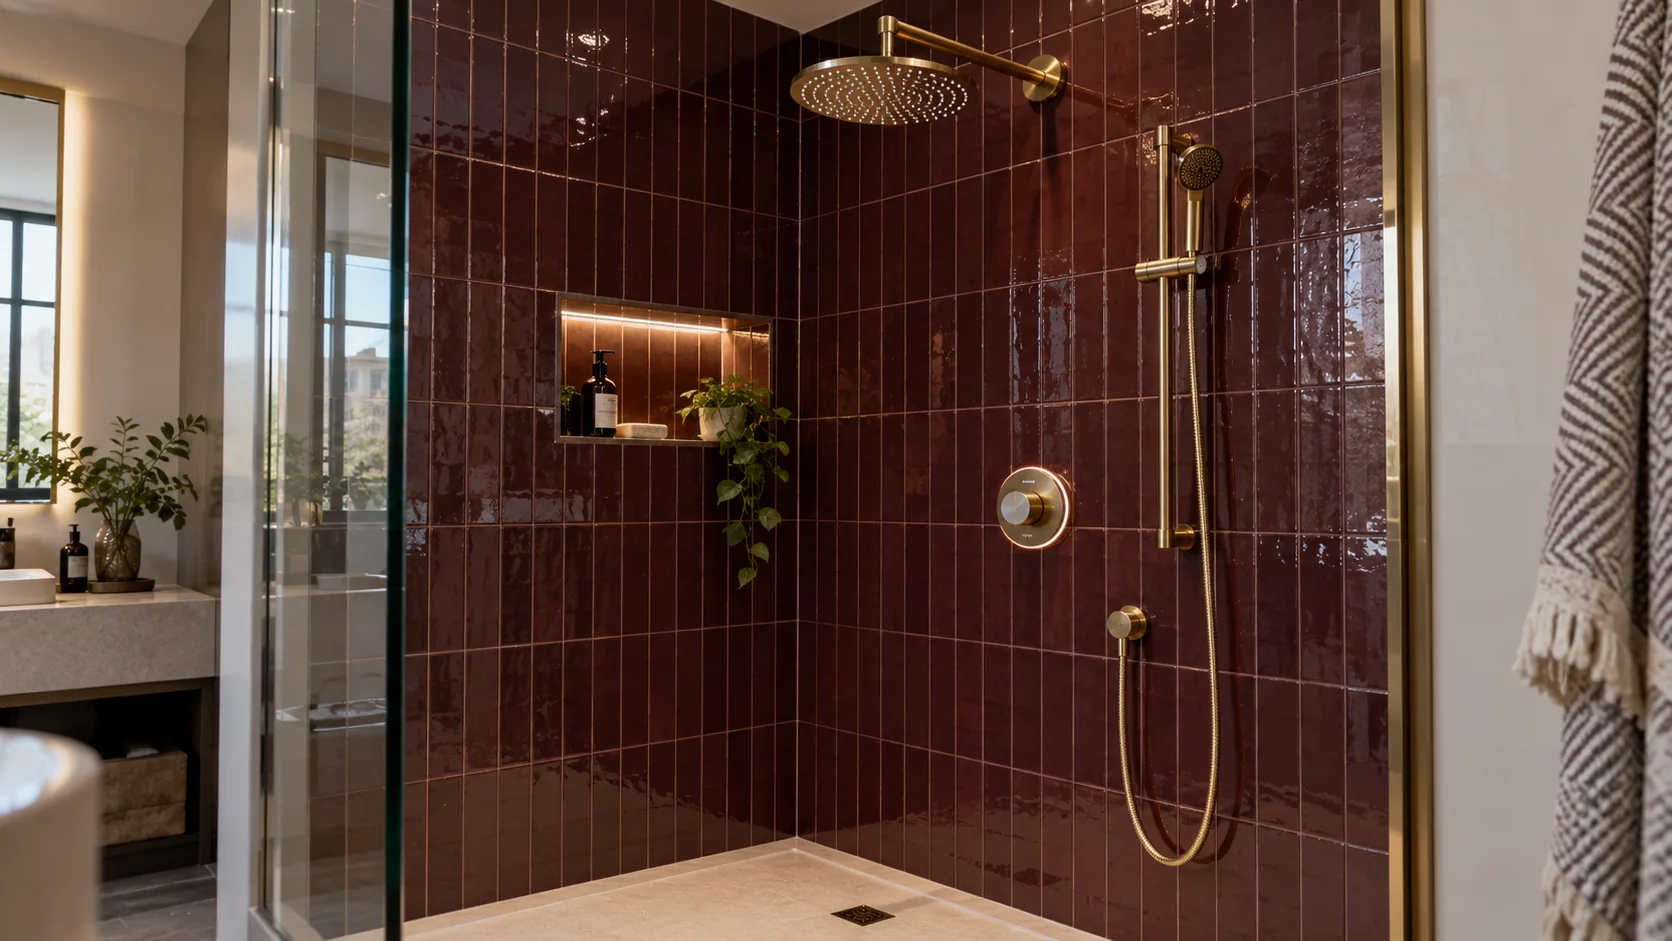
Choose the actual shower before finalising its supply. Do not assume an existing shower circuit is suitable for a higher-rated replacement, or that a remotely positioned digital processor can be sealed permanently behind a tiled wall.
If shower performance is a concern, assess the available water supply as well as the electrical installation. An electrical upgrade is not a solution to insufficient water flow. Our low water pressure guide explains the checks to make before choosing new equipment.
The same early coordination applies to shower toilets and other powered bathroom fittings. Their water connections, electrical requirements, servicing and any specialist installation conditions should be checked for the chosen model.
/ 09
Keep service access in the finished design
A useful test for every concealed component is simple: how would someone reach it in five years?
That includes lighting drivers, fan units, shower processors, control equipment and service connections. An access panel is not useful if the component cannot actually be removed through it or if a fixed cabinet blocks the opening.
Access does not have to dominate the appearance of the bathroom. It does need to be intentional. Coordinate it with the cabinet design, ceiling, wall finishes and manufacturer's maintenance requirements.
Keep records of equipment models and the agreed concealed routes before they are covered. These records can support future maintenance, but photographs are not a substitute for safely checking a location before drilling or altering it.
/ 10
Allow for the building around the bathroom
The following are planning examples, not descriptions of particular PEP bathroom projects.
In an internal bathroom within a flat, the ventilation route may need agreement before the ceiling layout can be settled. Existing shared systems and the building's requirements should be identified at the start.
In a period conversion, the spaces available for wiring and ducts may be limited by the existing structure and other services. Works affecting fire separation, acoustic performance or protected building features need the appropriate coordination; the bathroom layout cannot be considered in isolation.
For a new en-suite, review its effect on the electrical and water installations beyond the new room. A convenient position for the basin does not establish that the shower, extraction and electrical supply are straightforward.
Where permissions are needed from a freeholder, managing agent or the relevant authority, resolve the responsibility and timing before the affected work proceeds.
If the wider project also includes a kitchen, our kitchen electrical planning guide can help you coordinate decisions across both rooms.
/ 11
Coordinate first fix through to handover
The detailed sequence depends on the construction and selected products, but three points deserve a clear check.
Before ordering equipment
Agree the layout, product specifications, operating preferences and contractor responsibilities. Confirm whether the quotation includes supplying each item or installing equipment supplied by you.
Identify any decisions that remain open. An unselected mirror or shower should be a recorded item to resolve, not an assumption buried in the installation.
Before closing walls and floors
Check the installed positions against the agreed layout and product information. Confirm the access arrangements and coordinate the electrical work with waterproofing, tiling and heating installation.
Required inspections and tests should take place at the appropriate stages. The people closing surfaces need to know when the concealed work is ready to be covered.
This is also the moment to resolve changes. Moving equipment after the surfaces are complete may involve several trades, not just relocating an electrical point.
Before accepting the finished room
Check the functions you agreed: lighting groups, mirror controls, fan operation and heating settings. Ask for a demonstration of the ordinary controls, not only an app login.
Receive the documentation appropriate to the work, product instructions and information about isolation and service access. Clarify any final commissioning steps that must wait for materials to cure.
Understand notification and certification
In England, Part P notification depends on the work involved. New circuits, consumer unit replacement and additions or alterations to existing circuits within the legally defined special location are notifiable. Repairs, replacements and work outside that definition need to be considered according to their scope.
Non-notifiable does not mean exempt from safe design, installation and appropriate testing. The electrical installation paperwork and any required Building Regulations compliance documentation serve different purposes. Agree the applicable route before work starts. Approved Document P.
New circuits and consumer unit replacement require an Electrical Installation Certificate. Qualifying minor alterations without a new circuit may use a Minor Electrical Installation Works Certificate. Ask which applies to your agreed work. IET certification forms and guidance.
/ 12
Understand what affects bathroom electrical costs
A price for replacing one accessory is not comparable with a quotation for a complete bathroom electrical installation.
Ask for the proposed scope to make clear:
- What can be retained and what must be altered.
- Whether new circuits or work at the consumer unit are included.
- Which equipment is supplied and which is installation only.
- The extent of lighting, controls, ventilation and heating work.
- Access requirements outside the bathroom.
- Responsibilities for ducting, waterproofing and making good.
- Testing, documentation, commissioning and any relevant notification.
- VAT, exclusions and the handling of later changes.
Access can be as important as room size. A small bathroom with a difficult route to the consumer unit or extract outlet may require more supporting work than a larger room with straightforward access.
Compare quotations against the same equipment schedule. This helps reveal whether a difference in price reflects a different specification or an omitted task.
For electric heating, installation cost and running cost are separate questions. Running costs depend on the installed load, operating time, controls, room conditions and electricity tariff. A thermostat feature is not a guarantee of a particular saving.
/ 13
Your bathroom electrical planning checklist
Before work begins, make sure you can answer these questions:
- Is there an agreed layout showing finished positions and the chosen equipment?
- Have the electrician and other installers received the same product information?
- Are the lighting, mirror, ventilation and heating controls understood?
- Has the existing installation been assessed for the proposed work?
- Is the ventilation route and its responsibility clear?
- Are the floor construction and heating requirements coordinated?
- Can concealed components be maintained or replaced?
- Are relevant building permissions, inspections and tests allowed for?
- Does the quotation show supply, installation, exclusions and making good?
- Is there an agreed handover covering operation and documentation?
An unresolved answer is a useful discussion to have now, while changes are still manageable.
/ 14
Plan your London bathroom installation with PEP
A well-planned bathroom is comfortable to use, straightforward to control and practical to maintain. Much of that quality comes from decisions made before any finished surface is visible.
PEP can coordinate the electrical and plumbing work within your agreed project scope, working with the other people responsible for the room. For an example of coordination at whole-property level, see our Notting Hill building-services project.
If you are planning bathroom electrical installation in London, send us your postcode, the proposed layout, equipment choices and likely timing. Include photographs of accessible areas if helpful, without removing electrical covers.
We can then discuss the proposed work, the information still needed and whether a site assessment is required.
For planned bathroom work within a local electrical project, see our services in Kensington, Chelsea and Hampstead. Send the equipment schedule with your enquiry so the required scope can be discussed.